
How to Program or Reset an Archer VR400 TP-Link Modem
- Begin by powering on the device. Ensure that you do NOT have it connected to any source of internet
- You will then want to connect to the modem (preferably by cable but Wi-Fi is acceptable). You now want to visit the webpage interface so that you can configure it. To do this, search either ‘http://tplinkmodem.net’ or do an IPCONFIG in the command prompt to find your default gateway and then enter that into your search bar in a browser
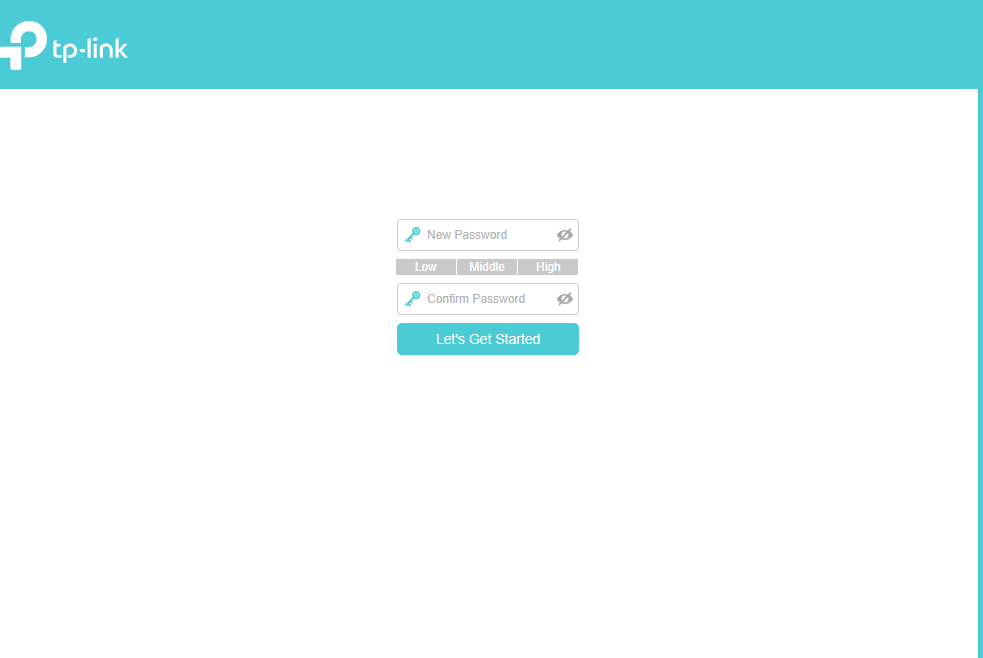
- You will then be greeted by a webpage asking you to set a new password. Ensure that you use Bitwarden to generate a password
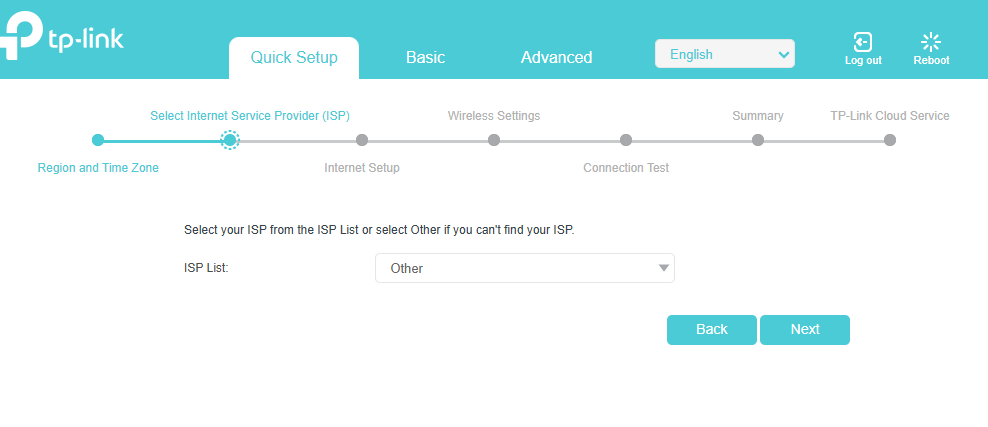
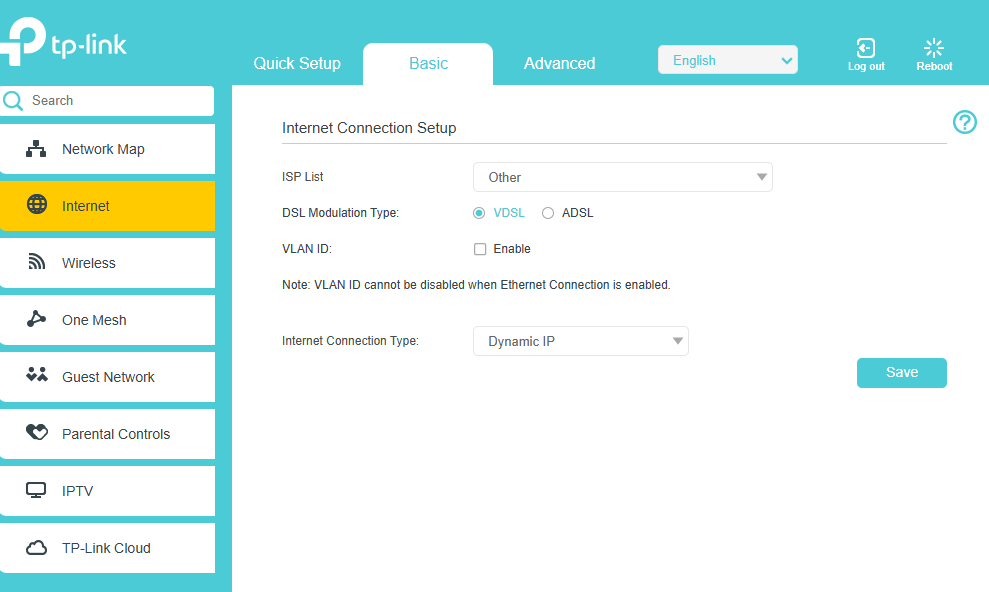
- Once you have created a password, it will ask you to change the time zone. Which is then followed by asking you to change your ISP list. Scroll down and select ‘Other’.
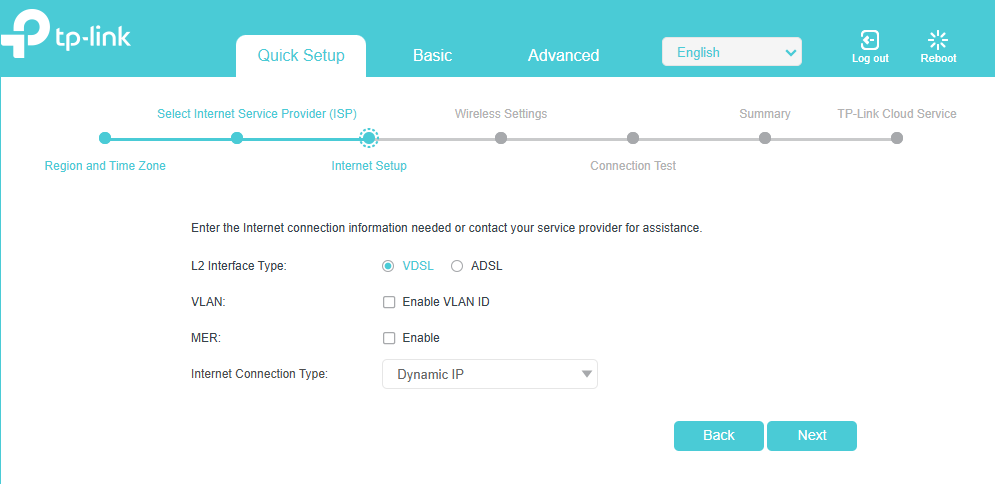
- It will now ask you to change some internet settings. Ensure that ‘VDSL’ is selected and that you change ‘PPPoE’ to ‘dynamic IP’
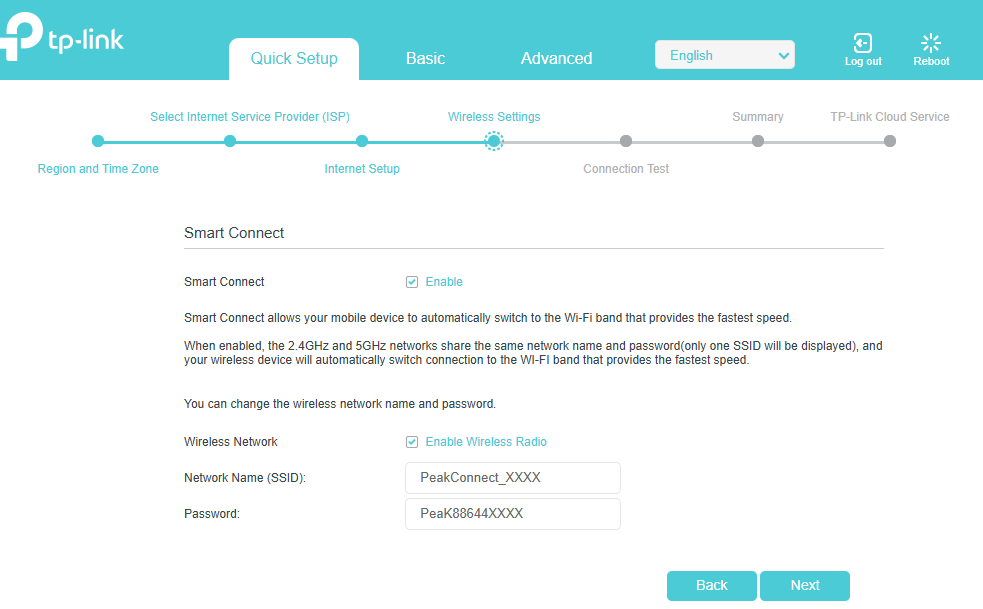
- The next page is used to configure SSID settings. Simply use a Peak Connect fridge
- You will then be given two options: Setting up the modem over a wired or wireless connection. Simply select whichever option you have chosen. It will then perform an internet test which will fail as we are not connected to the internet. Select next and finish the setup. If on a FTTN connection, it should come up immediately. If it doesn’t, go down to the internet tab and reselect ‘Dynamic IP’. Generally, if all settings are correct but you still don’t have internet access, reselecting this option will resolve it.
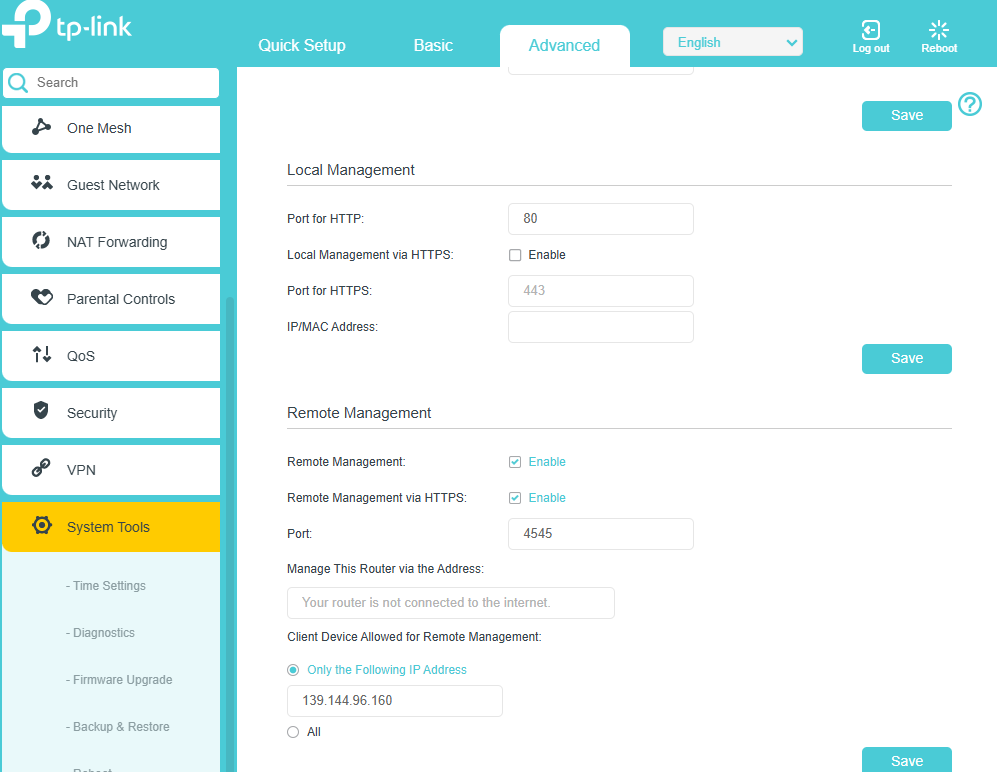
- Next, you will need to set up remote management. Navigate to the ‘Advanced’ tab and scroll down until you find ‘System Tools’. Once you open this, a drop down will appear. There will be a section labelled ‘Administration’. Enter here and enable ‘remote management’ and ‘remote management by HTTPS’. Change the port from ‘443’ to ‘4545’. Just below is a section to enter an IP address. Enter the OpenVPN IP details into there and select save.
- Finally, we will need to add the newly configured modem into the Peak Connect Management TP-Link Tether account. Find your way back to the ‘Basic’ tab at the top. Scroll down until you see ‘TP-Link Cloud’. Simply sign in using the provided details in Bitwarden. Using the search term ‘Tether’ will help.
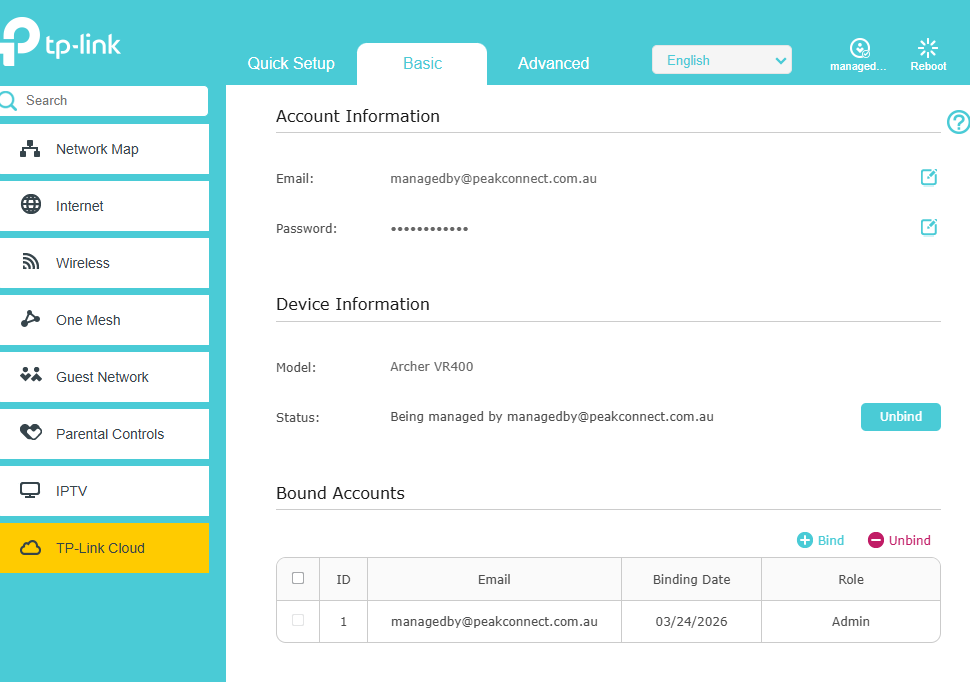
- Once signed in, it will now be registered with the Peak Connect Cloud Account. This provides ease of management including features like being able to remotely access the modem to make configuration changes from your phone, remote firmware upgrades, general management etc. Unfortunately, there is no way on a desktop to access the TP-Link Tether software and instead it is only accessible through an app on a mobile phone. If you need to manage any routers linked to this cloud account for whatever reason, you will need to download the TP-Link Tether app and sign in using the details in Bitwarden
Configuring for FTTP / FW
- Fibre and Fixed Wireless services both share the same configuration settings for many modems. The only difference in terms of configuration is that you must navigate to the ‘Advanced’ tab then ‘Operation Mode’ and select ‘Wireless Router Mode’. It will then reboot, and when it comes back online you will have internet access. Again, if you do not then simply reselect ‘Dynamic IP’ within the internet settings which should resolve it. If it doesn’t further troubleshooting will be required.